
Now that you’ve mastered how to take better photos from your iPhone (see my previous post), I have some tips for editing your iPhone photos so that they become even more Instagram and Facebook ready.
While you can make some edits from within the iPhone camera app, my preferred app for editing is PicTapGo. Trust me, it is worth the $2.99. Think of editing your photos as enhancing, not totally changing the look, and this is the perfect, simple tool. Typically you just need to brighten things up, so the edits should be pretty minimal. The great thing about PicTapGo is that you can save your “secret sauce” to use on future photos and you can also apply your edit to multiple photos on your iPhone at once.
Here is the process I typically take when editing an iPhone photo using PicTapGo:
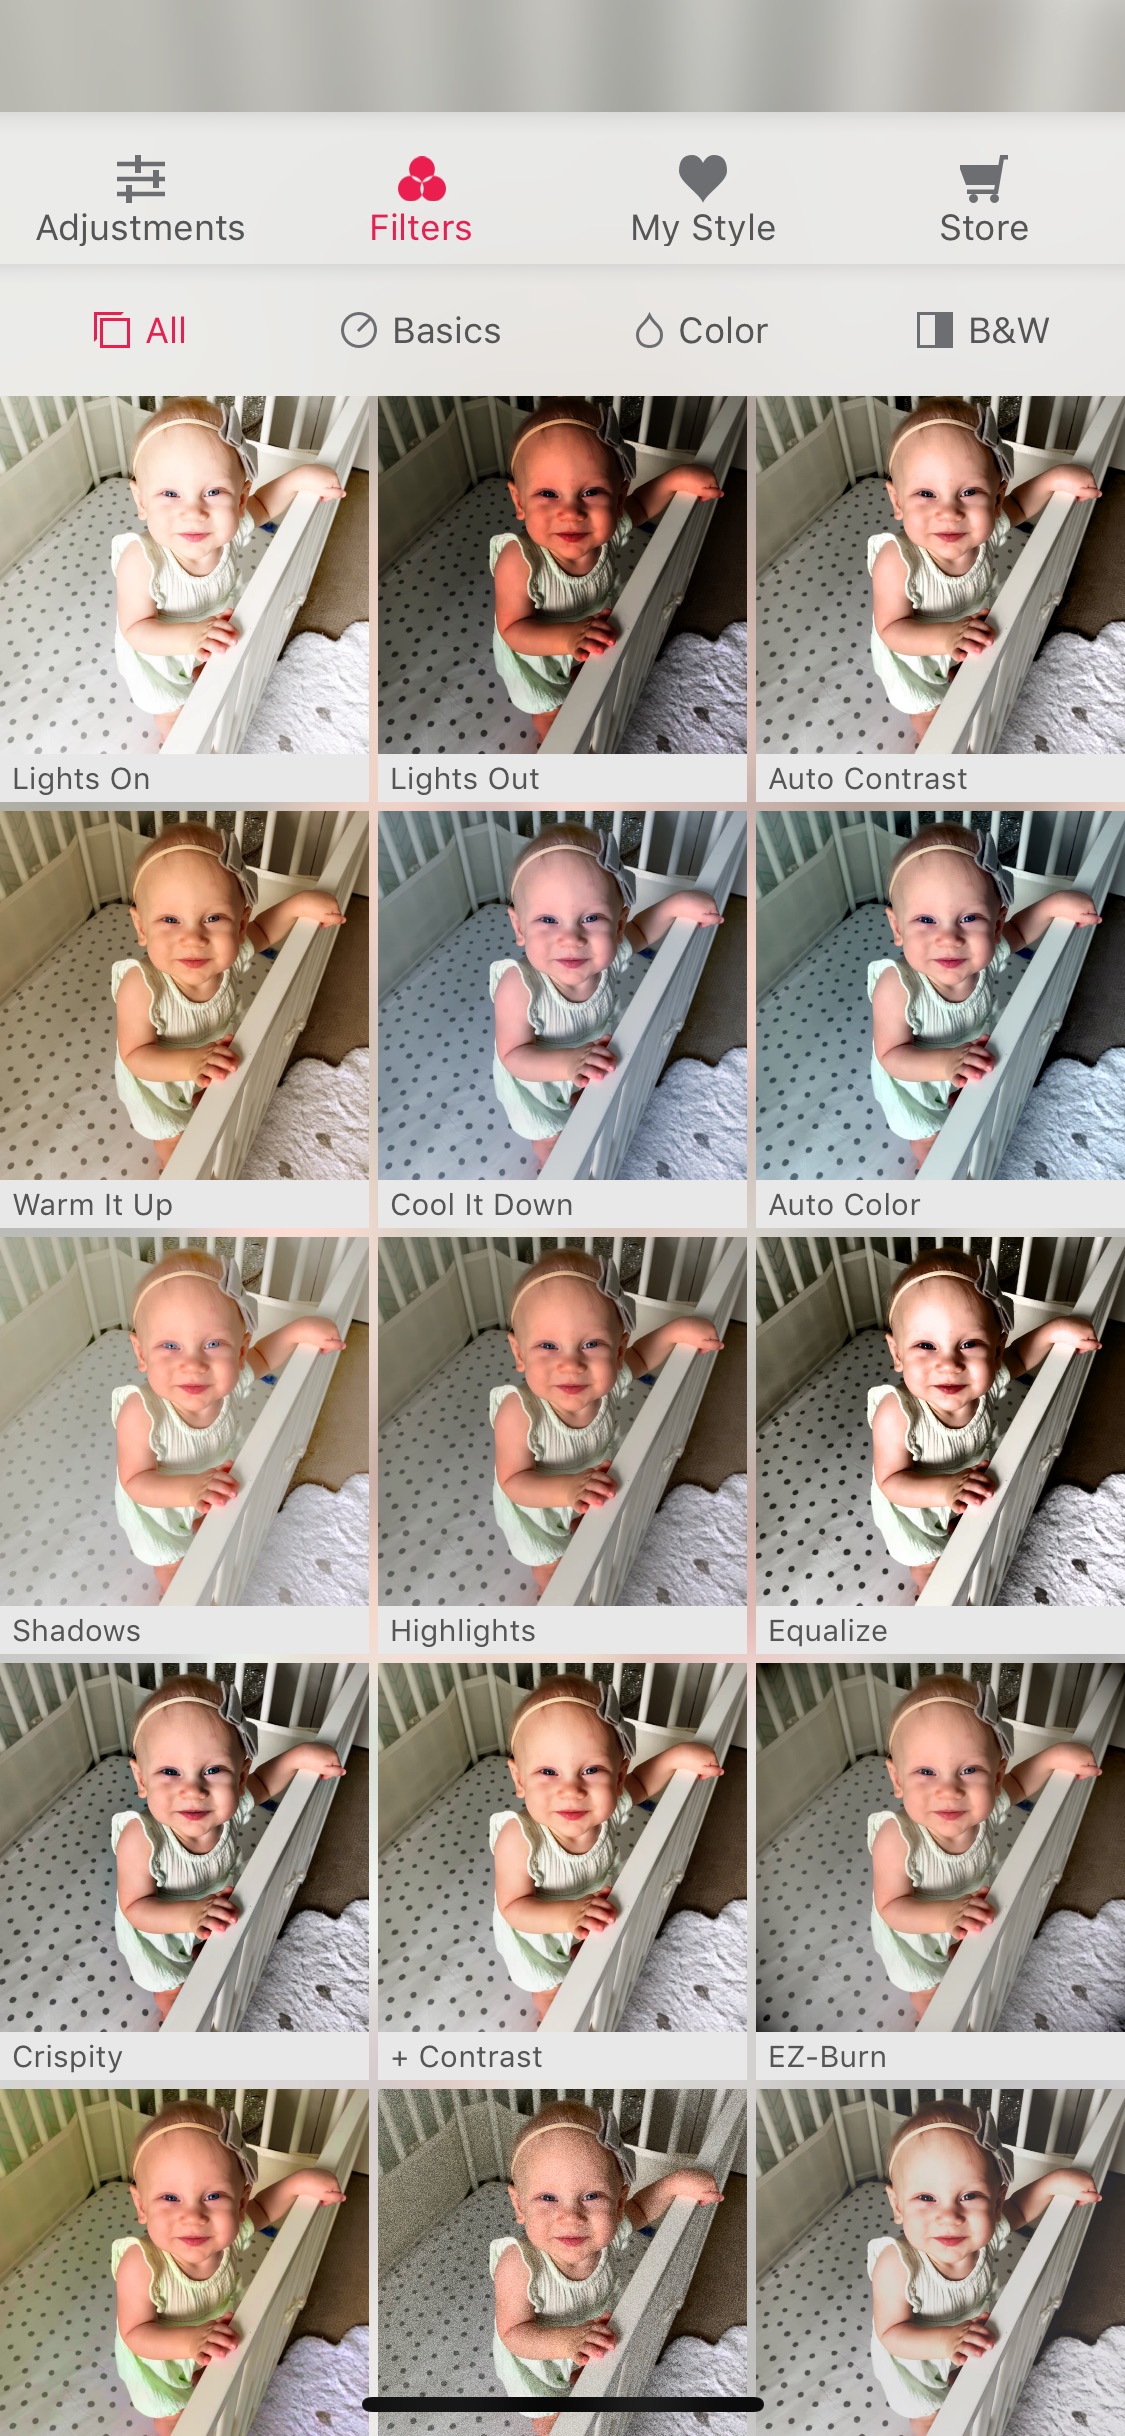
Once you’ve “tapped” the image you wish to edit, tap the “Filters” icon at the top of the screen.
Feel free to play around with all of the filters, however the ones I primarily use on all of my iPhone photos, in this order, are:
- Lights On
- Shadows (minimal)
- Crispity
- Contrast (minimal)
- Air

When you tap on one of the filters, it brings you to a new screen where there is a slider at the bottom to adjust the intensity of the filter. Use your best judgement, but typically my adjustments end up in the center of the spectrum. Here is an example of the “Lights On” filter where I have adjusted the intensity to the middle, to brighten everything up but not wash it out.

Once you have finished adding one filter, you can scroll down on the same screen to add additional filters. And upon completing all of your adjustments, simply click the “Go” icon in the top right corner.
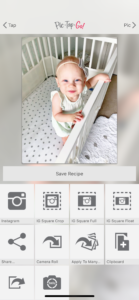
Now you are given options to save and share your image. You also have the option to apply the same edits you just made to other images in your library with the “Apply to Many” icon. This is great if you’ve taken multiple images of the same thing (similar lighting, etc). Finally, you also have the option here to “Save Recipe” so that you can apply the same filters to other photos in your library.
And voila, you are finished! Here is the before & after of my photo:

Before

After
For full video, see below. Also saved as a highlight on my Instagram profile page. Questions/comments? Happy editing!


leave a comment